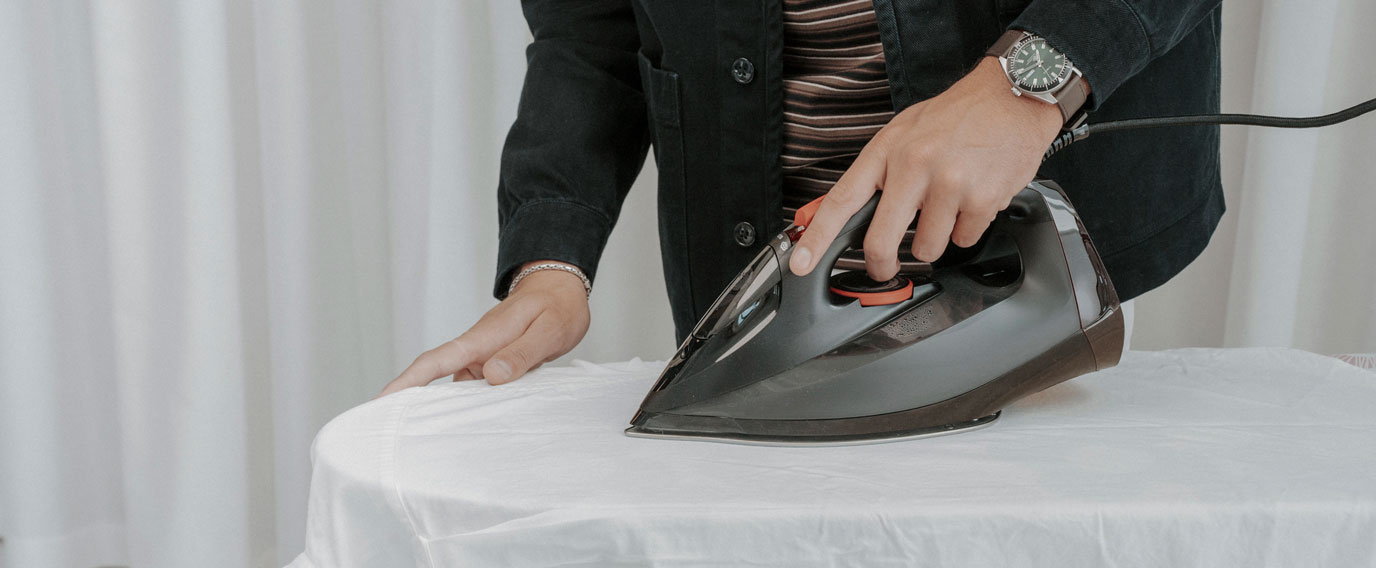
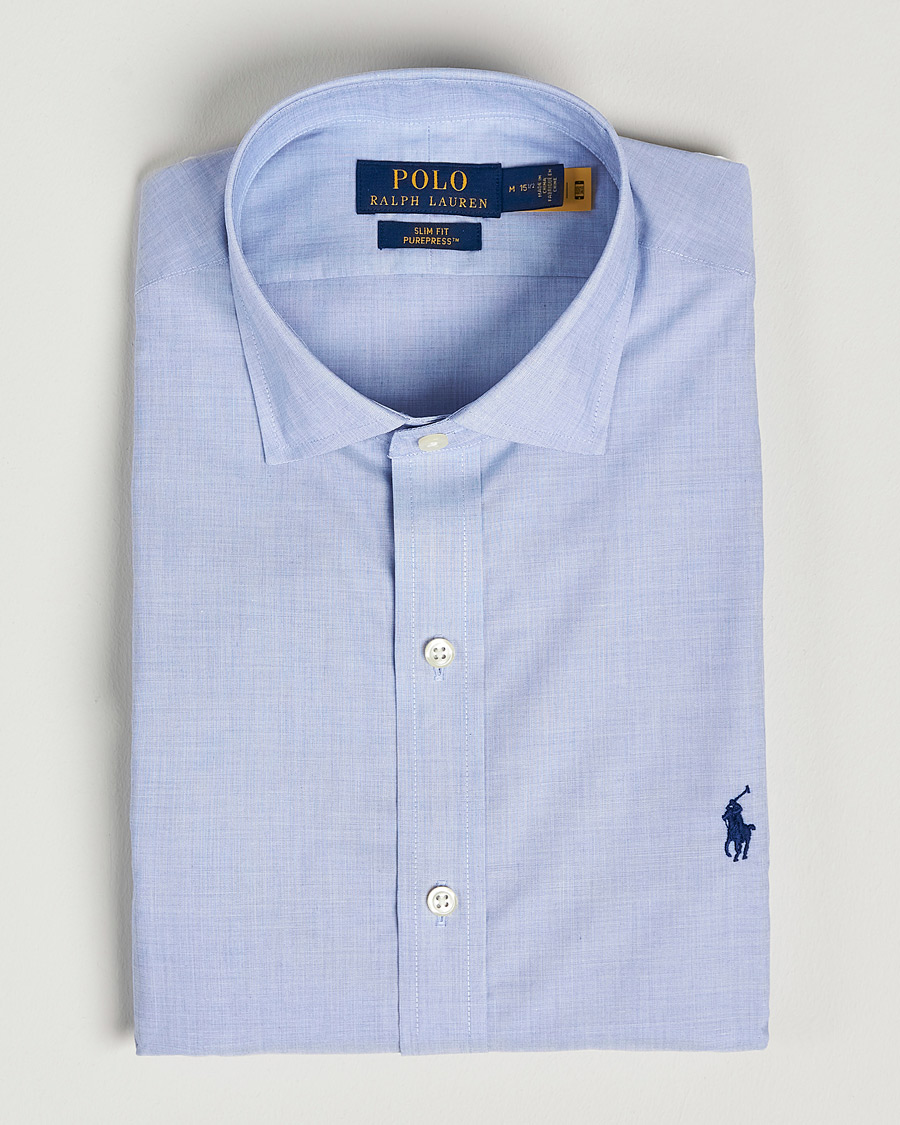
How to iron your shirt:
Below, we will present simple instructions on how to best iron your shirt.
1. Dampen the shirt
Make sure the shirt you are about to iron is lightly damp and that has been allowed to soak up some sprayed-on water for a couple of minutes before you start. Ideally, shirts should be ironed right after being washed before they have a chance to dry out.
2. Check the washing instructions
Before you start ironing your shirt, we recommend that you double-check its washing instructions to see which ironing temperature is recommended for your particular garment. The ironing temperature may vary depending on the material of your shirt, and too high a setting may even completely ruin your shirt.
3. Start by ironing the sleeves and cuffs
The sleeves and cuffs are the parts of your shirt that are easiest to start with, as they can then hang down in the sides of the ironing board when ironing the rest of the garment.
Start by unbuttoning the cuffs and flattening them on the surface, then iron them. Continue by flattening the sleeves on the board without creases or folds on either side of the fabric. This way you only need to iron the sleeve from one side.
Remember…
…to put your weight on the rear side of the iron, and let the pointed end barely touch the surface. This way you avoid ironing small, annoying creases into your garments, as these are remarkably and unnecessarily hard to undo at a later stage.
4. Continue with the yoke
The yoke is the piece at the top of the back of your shirt under the collar, between the shoulders. This part can occasionally be tricky to iron. If you iron this piece at an early stage, you lower the risk of re-creasing the already ironed parts of you shirt in the process. Make sure your shirt is completely unbuttoned and spread the garment widely across the ironing board allowing it to lie completely flat. Begin ironing, pulling and tugging the garment when and where necessary.
5. Iron the collar
Before you move on to the front and the back of your shirt, you should iron the collar. This part is to be ironed turned up, on the inside. Use a bit of extra steam to properly flatten the collar. After ironing the collar, turn it back down. If you prefer a somewhat stricter shape and appearance of your collar, you can enhance the fold of the collar by gently ironing it. If you prefer a beautiful, stylish soft roll on your collar, completely avoid ironing the folded collar. When you are done, fasten the top button, as this will make it easier to iron the rest of the shirt, holding it in place when the garment is wrapped around the board.
6. Continue with the first half of the front
Slide your shirt onto the ironing board, so the board sits inside the shirt and one half of your shirt lies flat on the top of the board. Start by ironing the placket and thereafter the rest of the front piece. On the side where the buttons are attached, gently let the tip of the iron slide between the buttons. Do not under any circumstances pass the iron over the buttons. Pull and tug the garment when and where necessary to flatten it and avoid ironing creases into the fabric.
7. Rotate the shirt and iron the back
Once you have ironed the first half of the front, a natural step will be to rotate the shirt so that the back sits on the top of the ironing board. Smooth it out and iron. Move the shirt around to iron the whole back surface.
8. Finish by ironing the second half of the front
After ironing the back, you can rotate the shirt to put the second half of the front on the top of the board and iron it.
9. Hang you shirt to cool off and dry on a proper hanger
When you are done you hang your shirt on a robust hanger and leave it to cool for at least 10 minutes before wearing. If you wear it before it dries and cools off, you will most likely end up re-creasing your garment, undoing you fine ironing job.
If you prefer to steam your shirt, we have a guide for this here.
